
In the ever-evolving world of fashion and personal style, the humble belt has long been a versatile accessory that not only cinches the waist but also serves as a reflection of one’s individual aesthetic. However, as our bodies and size requirements change over time, the off-the-shelf belts we purchase may not always fit as perfectly as we’d like. Rather than settling for an ill-fitting belt or discarding it altogether, the simple act of punching additional holes can breathe new life into your beloved accessory, allowing you to customize the fit and maintain your sartorial flair.
Contents
The Importance of a Proper-Fitting Belt
A well-fitting belt serves more than just a decorative purpose; it plays a crucial role in the overall comfort and functionality of your outfit. A belt that is too loose can result in an unflattering silhouette and the constant need to readjust, while a belt that is too tight can restrict movement, cause discomfort, and even lead to unwanted bulges or muffin tops.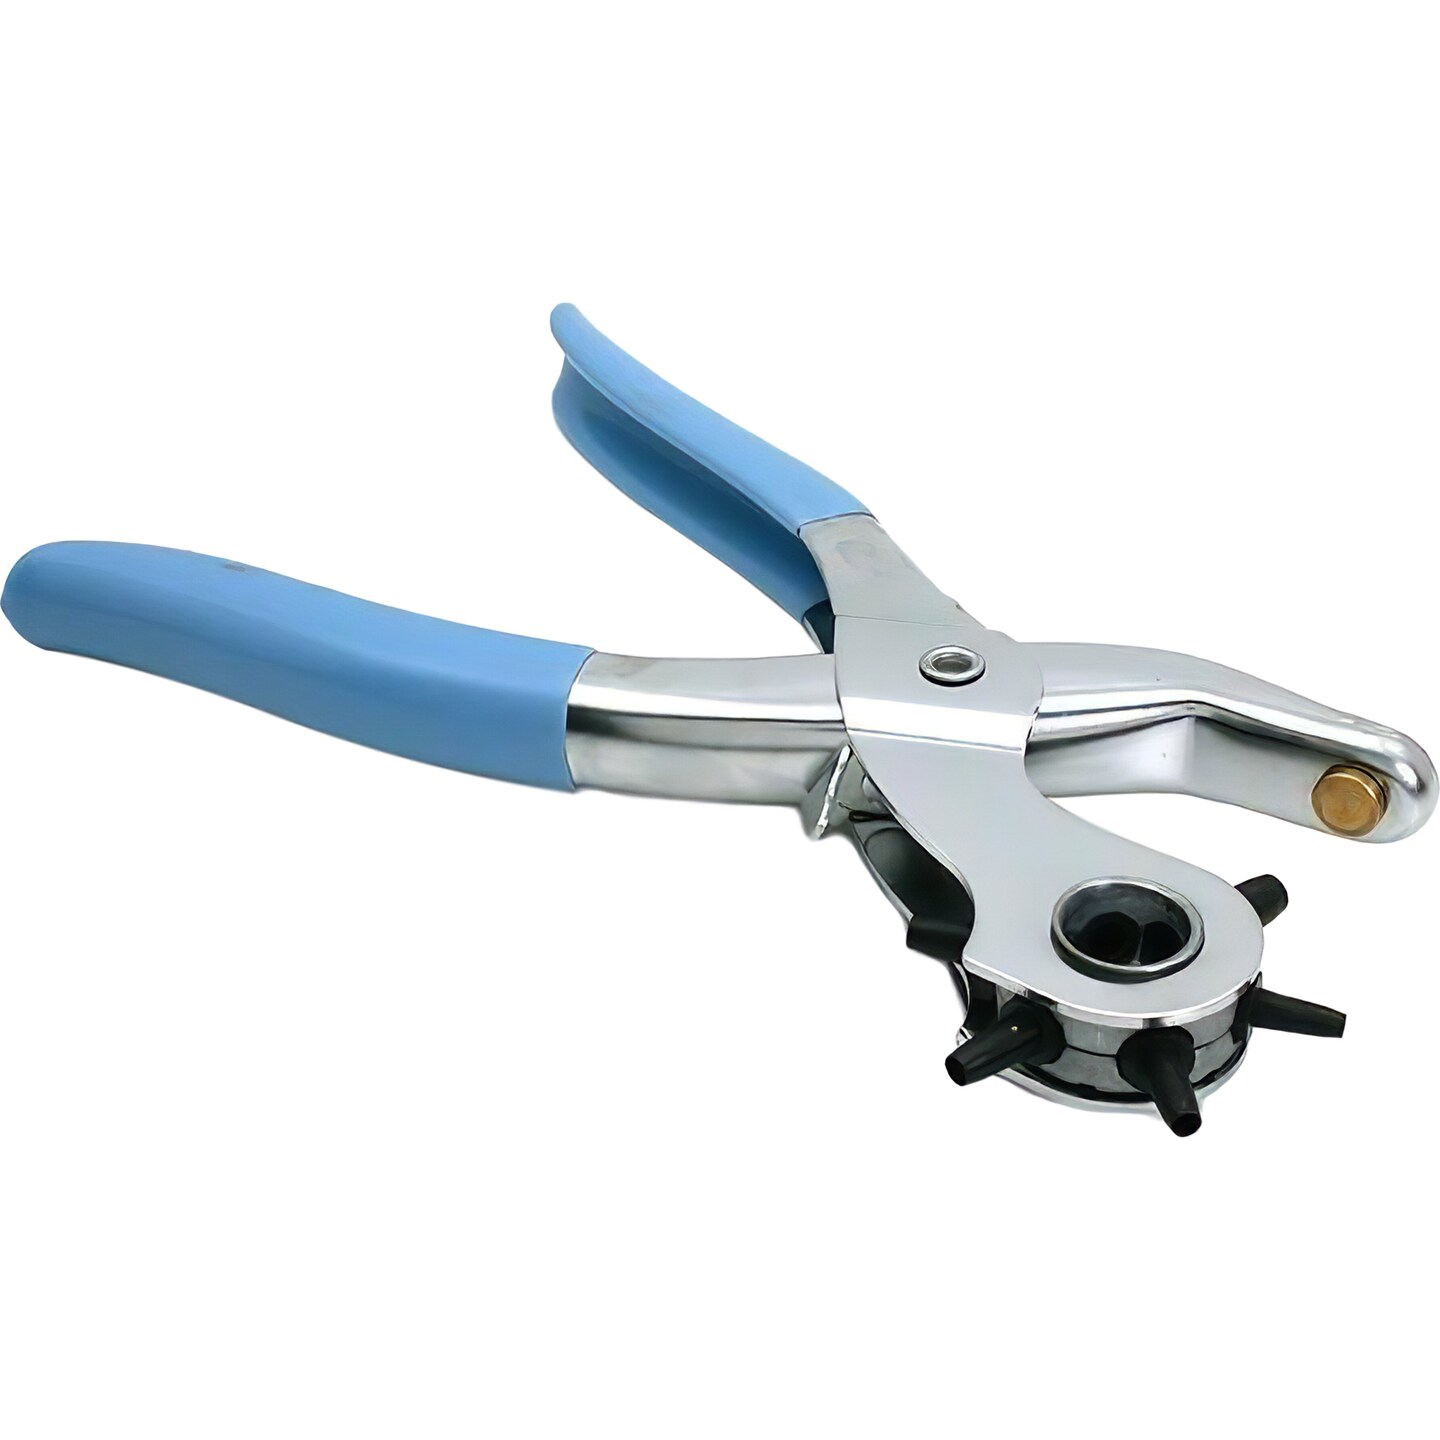
Achieving the Ideal Fit
The ideal belt fit should strike a balance between snug and comfortable, providing a secure yet unobtrusive hold around your waist. This not only enhances the overall aesthetic of your ensemble but also contributes to a sense of confidence and ease in your everyday movements.
Addressing Changes in Body Size
As our bodies naturally fluctuate in size over time, whether due to weight loss, weight gain, or simply natural variations, the need to adjust our belts accordingly becomes increasingly important. Punching additional holes allows you to fine-tune the fit and maintain a polished, well-proportioned appearance.
Customizing to Accommodate Individual Preferences
Beyond simply addressing changes in body size, the ability to punch holes in a belt also enables you to customize the fit to your personal preferences, ensuring that the accessory aligns perfectly with your unique proportions and comfort requirements.
The Benefits of a Personalized Fit
By taking the time to punch additional holes in your belt, you can unlock a multitude of benefits that extend far beyond the mere aesthetics of your outfit.
Improved Comfort and Mobility
A properly fitting belt that is tailored to your specific measurements can significantly enhance your overall comfort, allowing you to move freely and confidently throughout the day without the constant need to adjust or fidget.
Enhanced Confidence and Self-Assurance
When your belt fits perfectly, it can have a positive impact on your posture, your self-perception, and your overall confidence, empowering you to present your best self to the world.
Prolonged Usability of Beloved Belts
Rather than discarding a belt that no longer fits, the ability to punch additional holes can breathe new life into your favorite accessories, allowing you to continue enjoying them for years to come and reducing waste.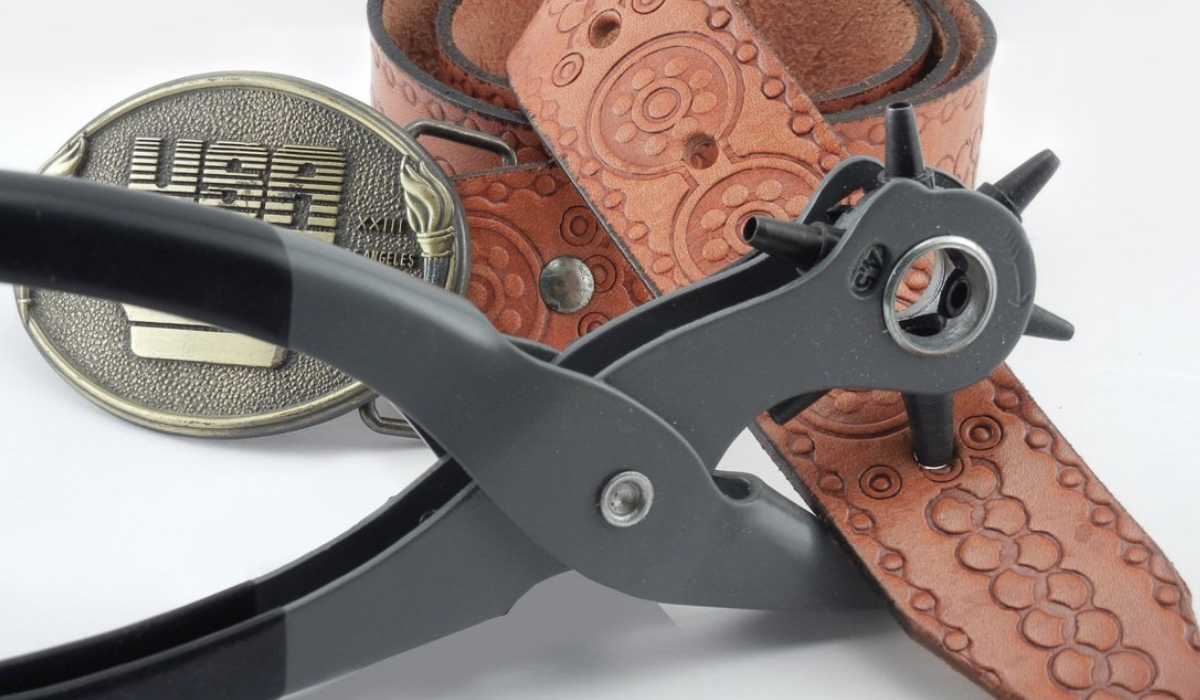
The Tools and Materials Needed
Before embarking on the process of punching holes in your belt, it’s important to gather the necessary tools and materials to ensure a safe and successful outcome.
Essential Tools
The core tools required for this task are relatively simple and accessible, making it a project that can be easily undertaken at home.
Belt Punch or Hole Punch
The primary tool you’ll need is a specialized belt punch or hole punch, designed specifically for creating clean, precise holes in leather or fabric belts.
Hammer or Mallet
Depending on the type of belt punch you’re using, you may also need a small hammer or mallet to apply the necessary force to create the holes.
Ruler or Measuring Tape
To ensure the holes are evenly spaced and symmetrical, a ruler or measuring tape can be a useful guide during the process.
Optional Accessories
While not strictly necessary, there are a few additional accessories that can make the task easier and help you achieve professional-looking results.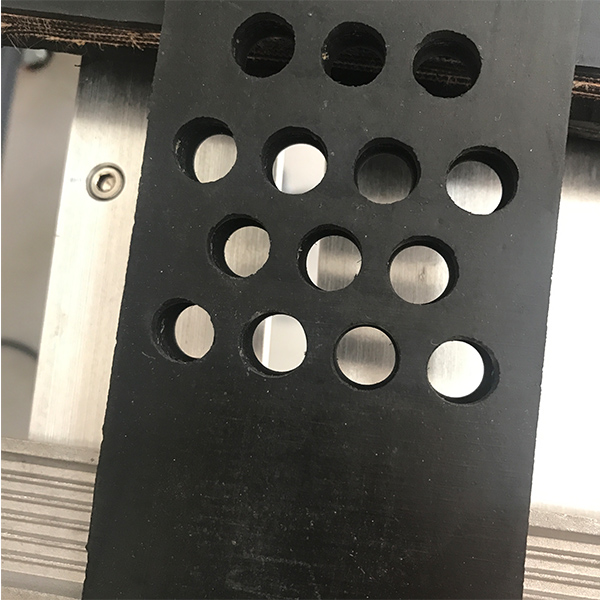
Awl or Leather Punch
For belts made of particularly thick or tough materials, an awl or leather punch can help to create the initial pilot hole before using the belt punch.
Marking Pencil or Pen
A marking tool can be helpful for precisely indicating where you want to punch the additional holes on the belt.
Clamps or Vise
Securing the belt in place with clamps or a vise can provide a stable platform for the hole-punching process, ensuring clean and consistent results.
Step-by-Step Guide to Punching Holes in a Belt
With the necessary tools and materials in hand, you can now embark on the process of customizing your belt to achieve the perfect fit.
Prepare the Belt
Begin by thoroughly inspecting the belt and identifying the areas where you’d like to punch additional holes. Measure the existing holes and determine the ideal spacing for the new ones.
Mark the Hole Locations
Using a ruler or measuring tape, carefully mark the spots where you’ll be punching the new holes. Ensure that the markings are evenly spaced and symmetrical to maintain a visually balanced appearance.
Secure the Belt
If you’re using clamps or a vise, position the belt in the desired location and securely fasten it in place. This will help to keep the belt steady and prevent any unwanted movement during the hole-punching process.
Punch the Holes
With the belt securely in place, it’s time to begin the hole-punching process. Carefully align the belt punch or hole punch with your marked location and, using a hammer or mallet, apply firm, even pressure to create the new hole.
Apply Consistent Force
Make sure to apply consistent force when striking the punch to ensure a clean, uniform hole. Avoid excessive force, as this can lead to uneven or jagged edges.
Check the Hole Size
After punching the first hole, inspect it to ensure it matches the size and shape of the existing holes. Adjust the positioning or force as needed for subsequent holes.
Finish and Inspect
Once you’ve punched all the necessary holes, take a moment to inspect your work and ensure the belt fits comfortably and securely.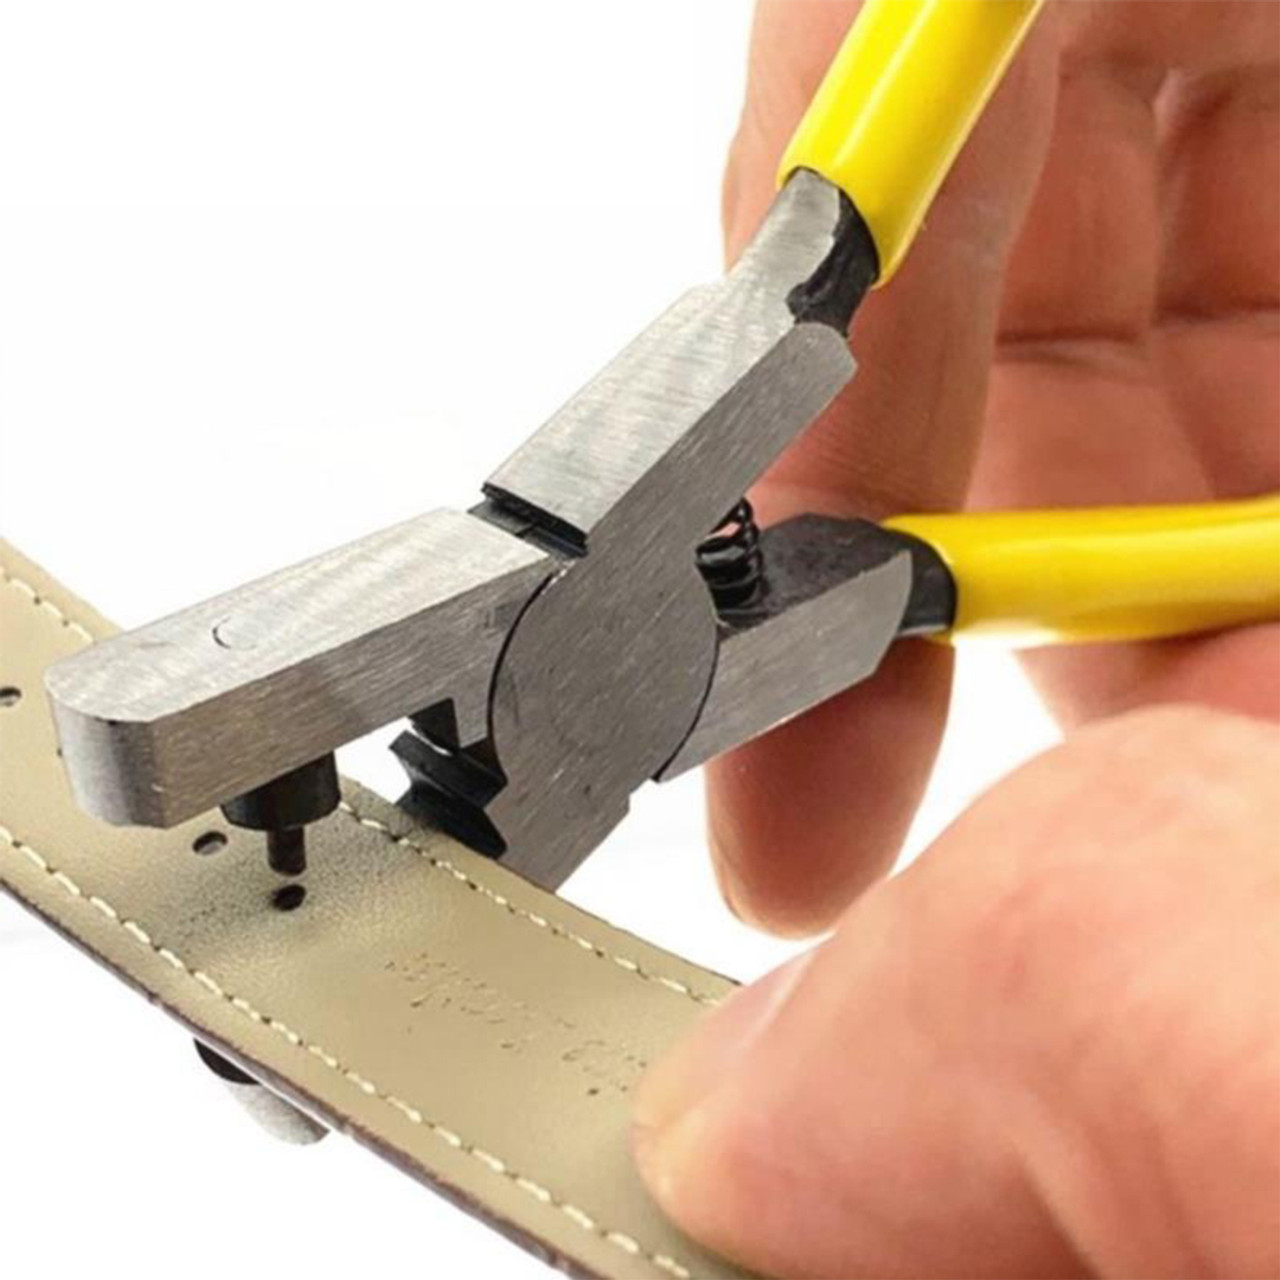
Remove Any Debris
Carefully remove any small leather or fabric fragments that may have been left behind, ensuring a smooth and clean finish.
Test the Fit
Try on the belt and make any necessary adjustments to the placement or size of the holes until you achieve the perfect fit.
Tips for Successful Belt Hole Punching
While the process of punching holes in a belt may seem straightforward, there are a few additional tips and tricks that can help ensure a seamless and professional-looking result.
Choose the Right Location
When determining where to punch the new holes, consider the overall balance and symmetry of the belt. Avoid placing the holes too close to the existing ones or too near the edges, as this can compromise the structural integrity of the belt.
Accommodate for Overlap
If you’re punching holes near the end of the belt, be mindful of the overlap area where the belt will be secured, and adjust the hole placement accordingly to ensure a comfortable and secure fit.
Protect the Belt Material
To prevent any potential damage or discoloration to the belt’s surface, you may want to place a protective barrier, such as a piece of scrap leather or cardboard, underneath the area where you’ll be punching the holes.
Minimize Stretching or Distortion
Gently stretching or manipulating the belt material as you punch the holes can help to maintain the integrity of the leather or fabric and prevent any unwanted stretching or distortion.
Consider Additional Customization
Once you’ve punched the necessary holes, you may want to explore other customization options, such as adding decorative studs, embossing patterns, or even replacing the buckle to further personalize your belt.
Explore Complementary Accessories
Coordinating your customized belt with other accessories, such as a matching wallet, keychain, or bag, can help to create a cohesive and stylish personal style.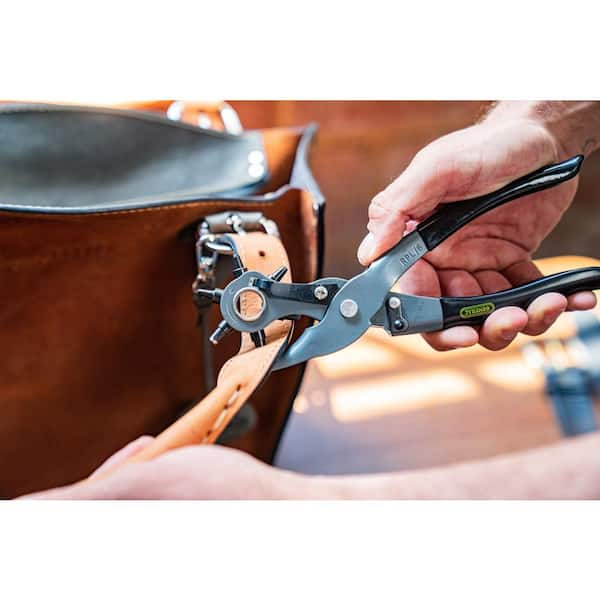
Conclusion: Embrace the Power of DIY Belt Customization
Punching additional holes in your belt may seem like a simple task, but it’s a testament to the power of DIY customization and the ability to tailor our accessories to our unique needs and preferences. By taking the time to ensure a proper fit, you not only enhance the comfort and functionality of your belt but also inject a personal touch that reflects your individual style.
As you embark on this journey of belt customization, remember that the process is not just about creating a well-fitting accessory; it’s about unlocking the creative potential within you and embracing the satisfaction that comes from taking control of your personal style. Whether you’re adjusting a beloved belt to accommodate changes in your body or simply seeking to achieve the perfect fit, the act of punching additional holes can be a rewarding and empowering experience.
Embrace the versatility of the humble belt and let it be a canvas for your sartorial expression. By customizing the fit and exploring additional personalization options, you can transform a simple accessory into a true reflection of your unique identity, showcasing your creativity, attention to detail, and commitment to looking and feeling your best.
So, the next time you find yourself faced with a belt that just doesn’t quite fit, don’t hesitate to take matters into your own hands. Embark on this DIY journey, armed with the right tools and a little bit of patience, and unlock the endless possibilities of a perfectly fitted, personalized accessory that will elevate your style and boost your confidence.


